Online learning can be difficult to keep fresh and exciting – there are only so many YouTube videos you can share and PowerPoints that you can make and only so many group presentations that you can get your TEFL students to prepare and present. A great way to introduce a new aspect to your class is through the use of Boom Learning.
Boom Learning is an online platform that offers a combination of free or paid digital activities for students of all ages. They consist of Boom “decks” which are made up of individual, digital task cards for students to complete.
The cards can be used in a variety of ways – if you want the free option then you can access a wide range of cards that can be used on the site itself or exported and used on other platforms. These can then be played together or individually.
The free option enables you to have one class of five students that enables your students to access Boom Cards which automatically assesses and produces a report.
If you have additional students then you will need to upgrade to a paid account if you want to use the assessing option with more than five students.
Perhaps the best thing about Boom Cards is that you are able to differentiate, as you can alter the Boom Card decks so that you can give different cards within the pack to different students.
Boom Cards are self-checking and the system enables students to fix errors in live time.
How to use Boom Learning
In order to use Boom Learning in any way then you need to set up a free account. Simply go to https://wow.boomlearning.com/
Once you have set up your free account then you can start to look for cards. To do this, you go to the store and then either choose a payment plan or free cards
You can choose your subject area from a choice at the side – for TEFL teaching there are English Language Arts/ social studies / social-emotional learning as well as speech therapy.
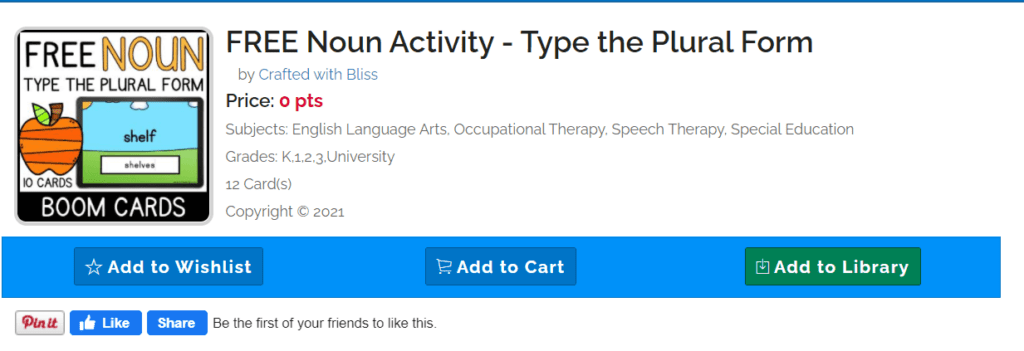
Choose the set of cards that you are interested in.
You can add your cards to the cart or to the library.
If you add to the cart then you are able to download the cards to your computer, whereas when you save them to the library, they are on the site.
Once you have some Boom Cards then there are various ways that they can be used.
To see your choice you go to the Library and you will notice an actions box on your Boom Card deck. When pressing this there are a number of options:
Assign – this is the option in which you can assign the Boom Cards to students/classes who will then be able to use them in an assessed manner
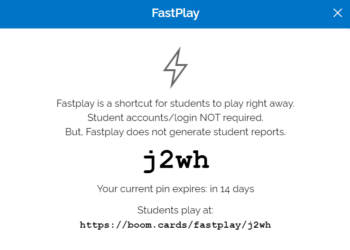
Fast pin – the quickest way to play the Boom Cards. This is a great option if you have five minutes spare and want a quick activity or alternatively if you want cards as a starter or closing activity. Teachers are able to use fast pin without students needing an account so if you decide that you only want to use Boom Cards occasionally rather than regularly, then this is a quick and simple option.
Hyper play link – with this option you are able to manage your Boom Card assignments with an external assignment system,
Print – Although Boom Cards are designed to be used online this is an excellent additional aspect. Cards can be printed out and then can be held up and used in a traditional way.
Hide cards – sometimes you will find that some of the cards in the deck are not suitable (for example, if working in a Muslim country and there is a card with a pig etc.) or simply not useful for your class. You use this option to hide cards within the pack.
When you click this option, a popup will come to inform you that this will affect all students. To continue simply press OK and select the slides you want to hide.
For the cards that you do not want to hide simply skip those.
When you have finished and have a deck of Boom Cards that you wish to assign, then press “done” then “ back “ and finally “ okay “ to save the deck.
Custom play settings – through working with this option you are able to alter the play settings to suit your specific class or individual student.
View report – this option enables you to see how the deck has been used
Review deck – this is an option for you to review and rate the deck.
Using your Boom cards
There are various ways that you can share your Boom Cards with your students:
Fast pin
This is a simple way to get your students working with Boom Cards. They do not need an account and instead, the teacher simply generates a pin.
To generate a pin the teacher signs up for an account, finds Boom Cards and saves them in their library. From the library, they press the options button and choose fast pin. This will enable a pin to be generated that is valid for 14 days. Pupils can then be directed to an online link and use the code to access the Boom Cards.
It is important to note that with fast pin the option of being able to hide cards is not able to be used, which means that with this option you have to show the entire deck of cards.
Assign your boom cards through your library
If you have saved your boom cards in your library and want to assign them to students, then you need to go to your Library tab. You will see all of the Boom Cards that you have and simply choose the deck you want to work with.
If you want to assign Boom Cards then you need to set up a class.
Set up a class on Boom learning
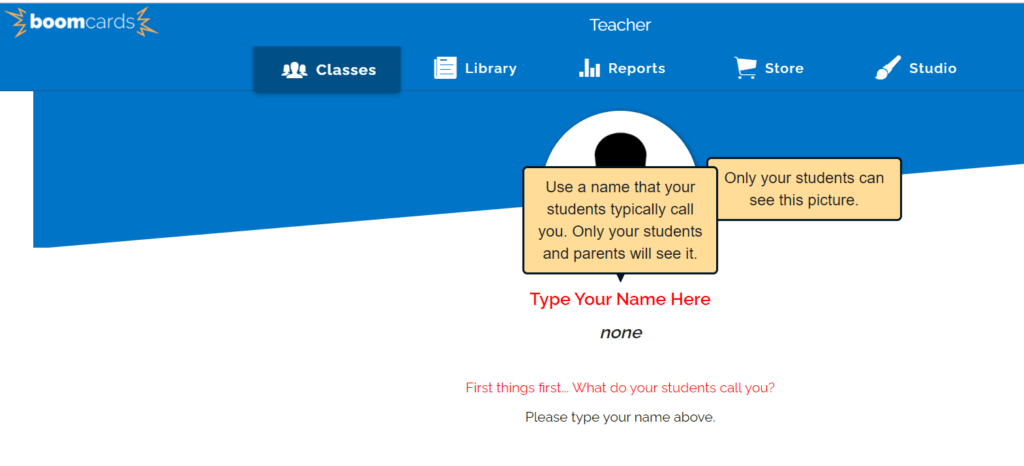
The first thing to do is to go to option “classes. “ From there you need to set up your class – so you need to add your name e.g. “Ms Stephanie” and add your picture.
Once you have added your name then you have a classroom set up.
The first thing to do is to add students. If you have younger children then you as the teacher will need to set up their accounts for them through using the “add student “option.
For older students, you can email them the details of the username (which is automatically produced for you once you form a classroom) as well as the password and they can work to configure their own accounts.
Note that the FREE option allows you to only have one class of five students. If you want to have additional students when you need to sign up for a paid plan.
Assign through your class
The other way to assign your Boom Cards is through your class option. If you have more than one class then you will start to place different Boom Cards in different classes, so you will want to assign directly from your class.
To assign Boom Cards from your class option directly you need to choose your class (left-hand column) and select “assignments” (you will find this as the middle option in the horizontal row.)
Press “assign more decks” and this takes you to an option of using the Boom Cards you have already purchased (or obtained for free) or search for new Boom Card decks.
When you have chosen your Boom Card deck, simply checkmark the box.
Although Boom Cards can be assigned to other platforms such as SeeSaw and Google Classroom, the cards of the deck cannot be played on those platforms. Instead, you need to assign the link which when linked, will link them over to the Boom Learning website or app.
To assign in Google Classroom simply go to your Google Classroom account. Go to the classwork button and choose “create assignment.”
Complete as usual with an assignment title, due date and instructions.
When completed, select “add “(found underneath the instructions) and a dropdown box will come up. From the box, choose “link. “ Insert the desired link and pick” add link “and assign your assignment as usual.
To assign Boom Learning cards in SeeSaw go to your SeeSaw account. Click “add “and a dropdown box will pop up. From the box choose “post student work “and then “link “–> Insert the desired link.
This will then load a preview of the Boom Learning so you can check it through. Next, add instructions for your students using either the “record “or “captions “options.
When you are happy with the work then press the green checkmark, fill in the information as to whether the work is to be assigned to all students or specific students and confirm with the green checkmark.
Reporting on Boom
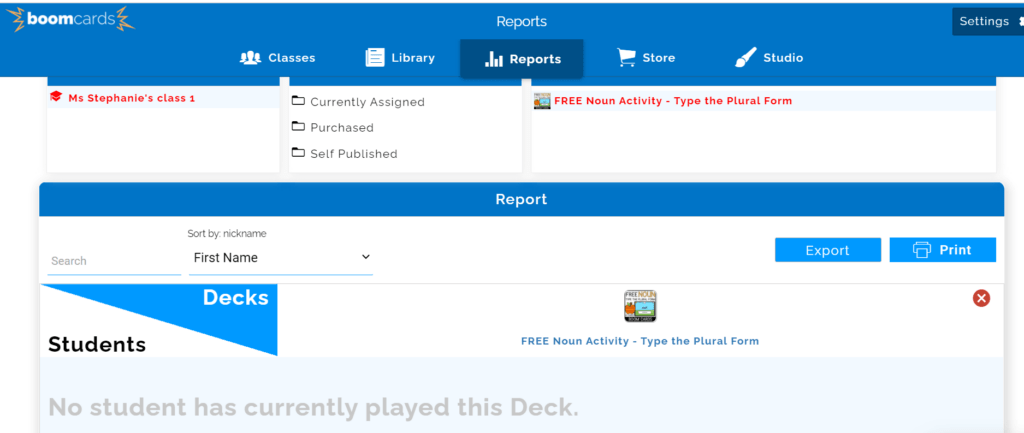
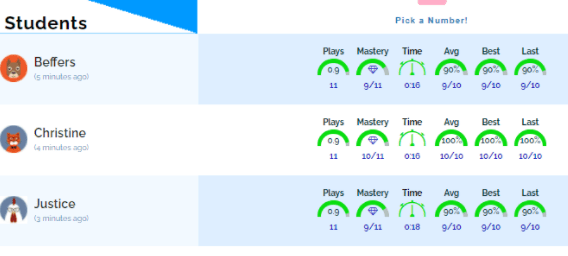
If you decide to have a classroom (free for up to five students) then an important part of Boom Learning is the reporting aspect. This enables you to see who has completed the work and how they performed.
There are a lot of options – the first is the timeframe – so you can decide which assessments you want to look at e.g. assignments that have been set or submitted within the last week etc.
When you have chosen the timeframe, the class and the Boom Card deck, then a report will be generated which shows how pupils did on the deck.
This includes:
- The number of plays i.e. how many times they worked with the cards
- The mastery i.e. how many they got correct
- Time – how long it took them to complete the play
- Average – the average score with the Boom Card deck
- Best – the best score that was achieved
- Last – the latest score that was achieved
Overall, Boom Learning is a great tool to use within your online classroom. Whether you use the free or paid version, you will be able to get a lot from this platform. Presented in a straightforward and easy to follow format, Boom Cards are easy to use and with lots of free downloads both on the site itself as well as other resource centres, this platform makes a free alternative to your usual classroom activities.
Are you facing difficulties in finding and securing teaching positions in Vietnam? Are visa procedures causing you trouble? Feeling overwhelmed and directionless upon your arrival in Vietnam for teaching assignments? Don’t worry, VTJ’s English Teaching Placement in Vietnam (EPIV) Program 2024 provides comprehensive support to solve ALL the matters.
👉👉👉 Click HERE to request free consultation


