In these days of online learning, it is harder and harder to think of new and innovative ways to keep students interested and motivated whilst also enabling teachers to have enough time for life as well as work. During face-to-face teaching, one of the largest parts of the class is the use of worksheets – but if your students do not have their own printer to print the sheets then you are stuck – or are you? This article goes through the step-by-step process of how to make your normal worksheet into online versions using Google Slides. You do not need to be a technological genius – instead, simply follow these steps and soon you will be able to use ready-made worksheets within your TEFL class and save yourself hours of preparation time.

The first thing to do is to change your worksheet into an image format so that it can be imported into Google Slides.
You will find that most of the worksheets are in PDF form thus the instructions refer to this, however if your document is in Work then the instructions are still very similar.
There are 3 ways to convert your PDF into a digital image that can be imported to Google Slides.
1/ Screenshots – Snipping Tool
The most basic way to convert a PDF document to a digital document is to simply take screenshot images and import them onto a Google Slide.
This can be done by pressing the “PrtScn” (print screen) after which you position the cross at the edge of the area you want to copy and drag to the other side. Upon release, the screenshot will be taken. This can also be used through consecutively pressing the ALT key and the PrtScn key.
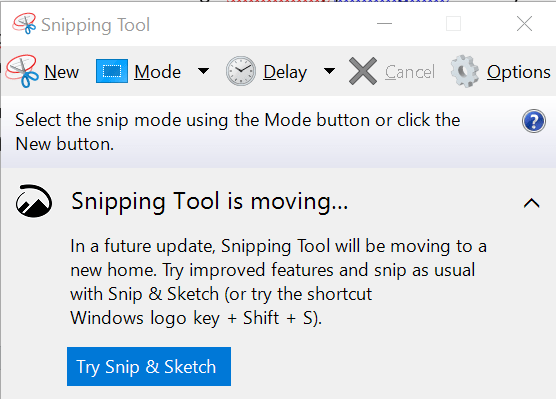
For Macintosh computers, a similar feature can be used by pressing three keys at the same time – the command key, shift key and the number four key.
If you require additional features – for example, snipping now, snipping in 3 or 10 seconds etc., then another snipping tool is recommended – snip and sketch which is a separate app. You can find this on Google Play or alternatively if you look for the inbuilt snipping tool on your PC then you will find a link.
Sometimes you will find that the item you want to snip needs to be enlarged or is part of a slide show etc. so you need time – so the snip and sketch is perfect.
To use this app you simply install and open it and choose the time frame you want. You then use the cross to position the area you want to snip and choose what you want to do with the image – simply copy or save it as a document in its own right.
Once saved, you can adjust the snipped area as you like using Word (if you want to change text) or paint (if you would like to add pictures or erase areas)
2/. Scanning Apps using your mobile phone.
Similar to the “snip and sketch” are scanning apps that can be installed on your phone and then used as a scanner. The difference between a photograph and a scan of a page is that a scan is much clearer and more defined so can easily be enlarged without producing any fuzziness.
Perhaps the best known is Adobe Scan, which is a free app that allows you to scan text and convert. This is fine if your worksheet is text only, however if you are also having pictures then you need to use an alternative app such as “Notes “
If choosing this option take the time to look through the apps and choose one that suits your type of phone and your specific need.
3/. Converting large files
The snipping and scanning are great tools when you only want to make one copy or a section, however, if you have a number of pages that you want to convert to image format then it is best to use an online converter.
There are a number of free converters that you can use online (rather than downloading a programme) and it is simply up to your personal choice. The most popular ones are:
https://smallpdf.com/pdf-converter
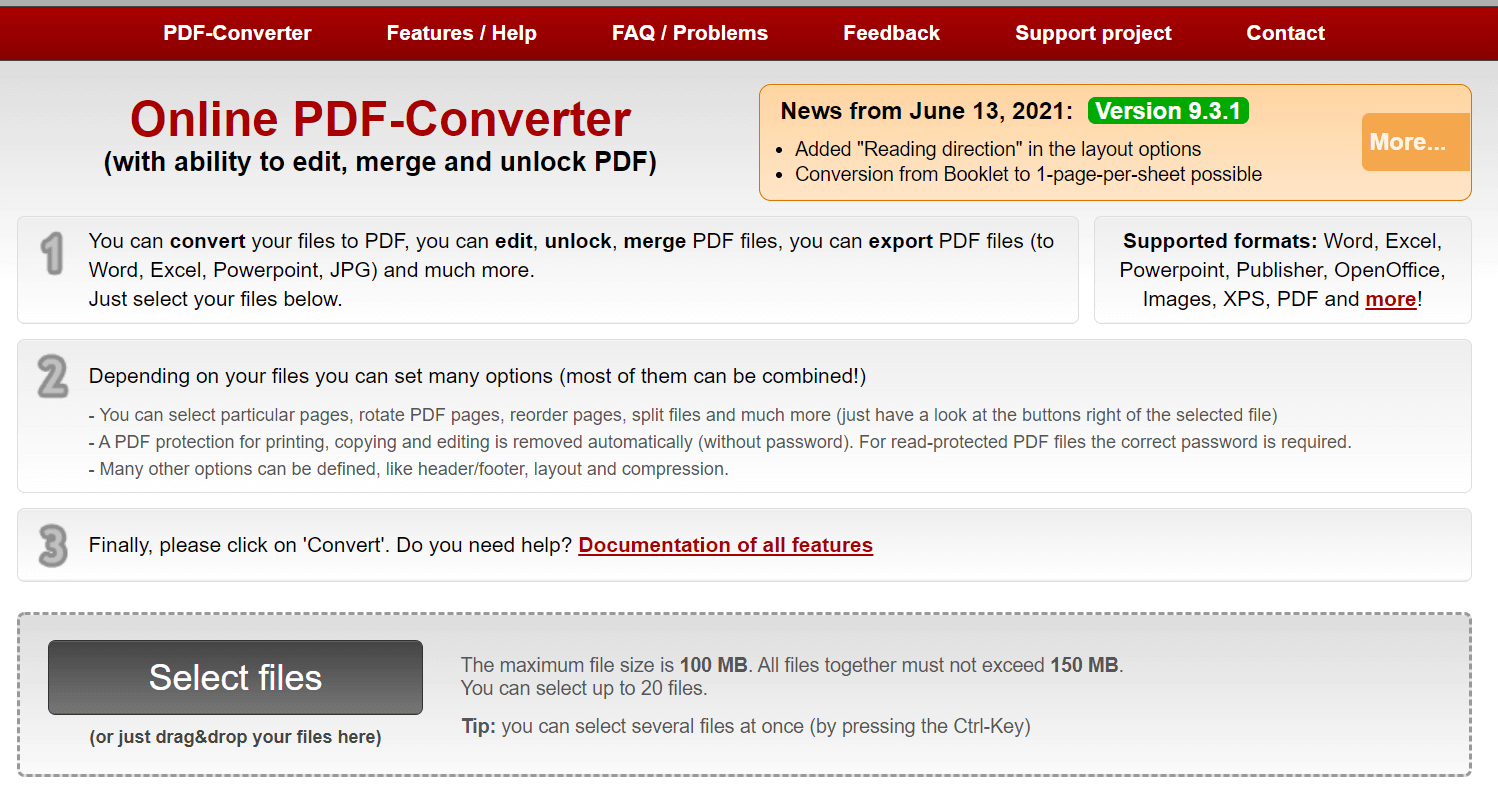
There are various safe and free online converters to be found online
In addition to changing a word document to an image file, you can also change a wide variety of formats to other – for example, changing PDF to word (useful if you want to edit a worksheet) or changing an image to pdf etc.
Using Google Slides to make your worksheet
Once you have the image version (jpeg or PNG) then you are ready to make your interactive worksheet on Google Slides.
First, you need to sign up for Google Slides using your Gmail account. This is a simple and straightforward process.
You can find out more about what else the slides do using the link: https://www.google.com/slides/about/
Once into Google Slides, you need to start a new blank slide.
Once you have your blank slide then you need to decide on your page size. Press file and page set up – there is a choice of sizes, however if you are directly inserting an image worksheet when you will need to set the size as paper (8½” x 11″)
You are then ready to insert your image as a background. Press, “background “which is on the second line down which then pops up with a box where you can choose your image. You can then choose your image and set it through pressing, “done “
Once you have your background, you can next add text boxes onto the slide that will enable the students to type onto the slide as if it is a real worksheet. To insert the textbook you press T and drag to the areas you want the text boxes to be, which allows students to type their answers directly onto the slide.

Worksheets can be easily made on Google Slides to suit all ages and areas of focus
If you altered your worksheet prior to altering it to an image file then you can simply add your textbooks where the spaces are. If however, you have writing that you want to hide then you can add the textbook and hover over the dripping paint icon to fill in the textbox with solid colour
Documents in Google Slides automatically saves however if you want to download then you visit files – download.
Sharing your interactive worksheet
There are various ways that you can share your interactive worksheet.
The easiest is to simply press “ share “ ( top right corner ) and add the email addresses of the students you want to share with or if you have a lot of students then you can share the link. Make sure that you check with whom you are sharing with – there are a number of options. You can share with anyone on the internet with the link or restrict it – this is important since you need to decide who should be able to open your link.
The other consideration is the viewing or editing option – as this is an interactive worksheet you want students to be able to write on it – so you need to change to “editor.“ You will then be provided with a link (press copy link) which you can then send over to your students.
In addition to sending it over as a separate document, you can also consider using Google Classroom or Seesaw as a teaching tool. To use these tools you simply sign up for an account, create your own classroom and ask your students to join. You can then not only share your slides but define things further by setting and receiving assignments as well as providing you with a secure classroom message portal.
Overall, Google Slides is a wonderful tool for any TEFL teacher – whether you simply use it to make your worksheets or whether you use the other features and incorporate this further into Google Classroom – it is up to you. Perhaps the hardest thing with online learning is the adaptation to something new – the secret is to simply experiment with new things and different technology and be pleased with the unique opportunity to break out of your comfort zone and learn something totally new.
Are you facing difficulties in finding and securing teaching positions in Vietnam? Are visa procedures causing you trouble? Feeling overwhelmed and directionless upon your arrival in Vietnam for teaching assignments? Don’t worry, VTJ’s English Teaching Placement in Vietnam (EPIV) Program 2024 provides comprehensive support to solve ALL the matters.
👉👉👉 Click HERE to request free consultation
Related Posts